by Gene Turnbow | Feb 20, 2023 | Art, Science
Time after time, new innovations do not wait for human society to figure out how we’re going to integrate it. There’s a reason these things are called “disruptive” in business jargon. They shake the box.
For example, Photoshop has had AI powered tools in it for almost a decade now, and nobody’s making that a front-and-center issue. Grammerly has been around for a long time too, and nobody’s pointing at that in panic either.
But AI that can believably regenerate somebody’s voice, or study a few thousand images and make a new image that resembles them in style, and suddenly it’s important.
It’s not that the tools can do it. It’s a matter of degree. This shows us that the problem isn’t that the AI can do it – it’s that the sudden advances have taken us by surprise, and we realize that as a society we have been so busy trying to figure out how we CAN do it, that we haven’t stopped to think about whether we SHOULD.
Getty Sues Everybody
The lawsuit by Getty Images against the creators of Midjourney and Stable Diffusion claim that these tools store images and paste together parts to make new images like an electronic collage.
This is not even remotely how they work. Instead, a special kind of deep learning neural net is trained on the images, producing what is essentially a complex formula with hundreds of mllions of parameters that the AI generation tools use to create new images.
In my opinion these lawsuits will fail immediately on expert testimony because of this gross basic misunderstanding of the technology. Images are not being copied, are not being stored in the database. If they were, you would need thousands of terrabytes to store the data. As it is, Stable Diffusion can generate images on a dataset as small as 2.7 Gb. They don’t even make SD cards or flash drives that small anymore.
A further complication is that in Europe, as in the United States, datamining is legal, so after the question of copying is set aside (to reiterate, it’s not copying, it’s using the images to train a neural network), then it there’s a very good chance that the law suits will fail on the scanning without permission issue as well, because protecting from analysis is not a legal right any copyright holder anywhere in the world enjoys. If it were, simply observing an image displayed on the internet and having any kind of opinion about it would be a crime.
The images are being reduced to parameters in a very complex equation with hundreds of millions of parameters. Datamining isn’t illegal. Training neural networks on material you don’t own isn’t illegal either. Copyrights aren’t being directly violated, because you couldn’t bring up an exact copy of anything the neural nets are trained on if you tried (though you can get close). And, you can’t copyright a style, or a composition, or a color scheme. All that’s left is Right to Publicity, and the responsibility for that falls on the users of the tools, not the tools’ makers.
That doesn’t leave much meat left on the bone.
It’s Just Going Sideways
And sure enough, this is exactly how the law suits are shaking out. Sarah Silverman et al. tried to sue OpenAI for reading their stuff and incorporating that knowledge into their ChaptGPT model. The only problem was that they couldn’t make ChatGPT spit out exact copies of their manuscripts. The New York Times tried the same thing, and had the same problem . Why does this matter? Because in order for the courts to offer anything to the plaintiffs, first there must be a viable record of wrongdoing. It’s impossible for the courts to proceed on the basis of being butt-hurt alone. There have to be provable damages. The court runs on two things above all else: monetary damages, and proof of injury. The New York Times — and Sarah Silverman, and the handful of artists trying to sue Midjourney — haven’t established either one. Even to argue undue restraint of trade, the “right to publicity” argument, they have to show exactly how they’ve been hurt by the AI’s, and none of them can demonstrate this. These cases have been largely thrown out because of these lacks, and all that’s left is the damages from restraint of trade, which none of them can clearly demonstrate.
In my opionion, the writers and artists suing are the victims of class action ambulence chaser lawyers. If they win, mostly the lawyers get the money. And companies like Getty Images are only suing because they want to make their own generative AI service based on Getty Images licensed images and sell that as a service. When you can download Stable Diffusion and SDXL for free, why would anybody care?
The Right to Publicity
What remains appears to be Right to Publicity violations – the recognizability of artist styles, or celebrity faces, which have traditionally been treated by the courts as the responsibility of the individuals using the tools, and not the makers of the tools themselves. As a user, it is my responsibility not to try to sell AI generated images that simulate the style of Salvadore Dali, Chris Claremont or Michael Whelan and sell them with the claim that they are by the original artist.
Finally, if I happen to produce output that resembles one of those artists, how much can the original artist claim they have been damaged by such a production when human artists imitate the style of other artists all the time? Cases where one artist considers themselves damaged by someone else emulating their style are virtually nonexistent, and I could find no examples. Certainly apart from being grumpy about it, few can actually demonstrate in real numbers that their business is being negatively affected by it, if any. Greg Rutowski comes to mind, and even he is circumspect about it. He’s concerned, but he’s not losing his shit over it.
Sue the Tool User, Not the Tool Maker
Think about it for a moment: if they can stop Stable Diffusion and Midjourney for being able to replicate the style of other artists, then they should be able to stop all word processors for being able to output written pieces that emulate the style of other writers. Oops, I accidentally wrote a story in the style of Roger Zelazny, they’ll be coming for my copy of Windows Notepad now… Saxaphones should be outlawed because it is possible for another player to use one to replicate the style of Kenny G … Do you see the fallacy here? It’s not clear cut at all, and is in fact a matter of degree, which makes it a purely subjective call. In point of fact, those bringing these amorphous law suits not based on any established rule of law fail to inform the court as to why the existing protections against copyright infringement are insufficient and why the makers of tools are suddenly liable when they never were before now.
In any case, it’s too late to stuff the genie back in the bottle. AI powered art tools are here. It’s what we do next, to find ways to understand and integrate the new tools, that will define the new landscape.
It Feels Wrong, But Why?
And yet, one way or the other, we still have the same situation. Stable Diffusion, underlying technology for all the successful AI image generation tools, is open source. That makes it very hard to unmake, and even harder to undistribute. Additionally, while it’s obvious that disruptive technology is generally created for the primary purpose of eventually making money, it’s doing so here without breaking the law in any obvious way.
And THAT’S where the problem lies. The ability to replicate somebody’s artistic style to produce specific results is the part that’s disruptive. It makes it harder (and I know I’m preaching to the choir here) for artists to get paid for their work and to have the value of their work respected. Artists instinctively know this, but they don’t have much of defense for what’s happening to them, and this makes them feel like victims, and in a real way, they are.
Artists gotta eat. And pay rent. And visit the doctor. And initially, tools that do work they can do are going to break things.
But as with the invention of the camera, and the music synthesizer, artists will adapt their workflows to include the new tools, and those that do will have an incredible competitve edge.
And those that don’t — or can’t — will suffer for it, and as with any new technology, there isn’t a lot we can do to change that, except maybe help them avoid having their stuff analyzed for neural networks, or helping them learn how to use the new tools. The legal questions won’t be resolved soon enough to matter.
Nobody likes to be hit in the face with some new career-threatening problem that they didn’t see coming, and it’s hard to say that three years ago anybody saw this as an impending storm on the horizon. That’s why it feels wrong. It’s doing something with people’s artwork and photographs that nobody saw coming and for which the standard rules for intellectual property offer no protection whatever Whatever is going to happen as a result of this new technology is just going to happen, long before we figure out something practical to do about it, if we figure out anything at all..
Can Anything Be Done?
I can’t imagine how one would unexplode the hand grenade this represents, given that it takes ten to fifteen years to resolve landmark cases in court. By that time, the technology will have evolved well beyond its current state and likely built into practically everything.
The Getty lawsuit against Midjourney, Stable Diffusion et al. will likely fail on the merits because they don’t fully understand what they’re suing over, and they appear to be trying to claim rights they don’t actually have, but it’ll take years to even get that far. They can start their lawsuits over again and file new cases, but that starts the clock over from scratch.
Nor can they simply use the DMCA and have the source libraries removed from the web (I can’t imagine on what grounds they would do this, because the DMCA only applies to finished works, not tools for making them). Using DMCA’s on this stuff is like a perpetual unwinnable game of whack-a-mole even if somehow you could make it work.
So, I’m going to estimate ten to fifteen years to see anything on this, assuming there isn’t some sort of settlement. Considering Getty is looking for a couple of trillion dollars in damages, and they know they’ll never get that, it seems to me that they’re trying to just scare the ever-loving crap out of the defendants in court, going after settlement money so as to look good to their shareholders. They don’t give a crap about setting a legal precedent. There will be nothing upon which to base new case law, no judgment to cite, and the end result will be money changes hands (if it even gets that far). Once the lawsuits are over, the tools will just chug along as always, completely undeterred.
And the Getty lawsuits are the best shot at this there is.
A Note about Glaze and Nightshade
Both of these anti-AI image mangler apps attempt to “poison” AI by either adding small non-zero numbers to the latent image before passing it to the diffuser, or by adding “phantom” data to the image to fool the training step for the graphical models into thinking that a picture of a cat is, in fact, a dog. Neither of these really do what they claim to do. Both were developed in the “publish or perish” academic environment, by professors who only understand in general how their anti-AI tools work, and both were built on the efforts of unpaid graduate students who did the actual work. The effectiveness and quality of the results are, therefore, about what you’d expect.
Remember that the point of these tools is not to help artists protect their work. The point of the tools is to advance the reputation and standing of the professors involved, and few have the technical prowess to demonstrate that they don’t, in fact, work, except in a cleanroom setting where the variables of the test can be strictly controlled. They were both built to test against Stable Difussion 1.5, which is at this writing two full generations of technology behind that in most common use today. Moreover, the way Nightshade works focuses on token frequency in LAION and LAION tagging, which has been irrelevant for a while now.
Both rely on adding informational noise to the image to create the impression that the image is in a different style than it really is, or contains a different subject than it really does. Both, however, require that a model be trained on a heavy diet of the adulterated images before the trained model will exhibit the desired properties, i.e., to screw up the art styles or the content portrayal. Trust me when I say this: unless you are one of the most prolific artists in the world, and have the time to adulterate everything you’ve ever done over the years and re-upload adulterated versions of what you’ve made, you’re not going to have any affect at all on the training of new models. Heaven knows, after being trained on literally billions of images, you’re not going to have any affect at all on Midjourney or any of the other similar generative AI systems. That ship sailed literally years ago.
Most importantly, there is no evidence, apart from extremely narrowly defined tests in carefully controlled environments, that either Glaze or Nightshade work at all. I can’t stress this enough. You are far better off learning and growing as an artist and creating new art than you are hoping that magical fairy dust will protect your old work. The time to set all that up was before any of the major models were built, and anybody with a home computer can train a LoRa on your work and completely bypass whatever effects of either of these tools have.
For more, read this Reddit thread.
We Need a Better Plan Than This.
I’m sorry if this is disappointing, but if it’s going to be stopped by the global community, there must be a plan put into motion that works. Intellectual property rights laws and right to access as they stand now simply don’t cover it. The next step is a concensus on what to do, but good luck reaching one. Humans have always acted as individuals. Given a population of a sufficient size, and a given stimulus, they will not choose to do a certain specific thing in response to that stimulus. They will do all the things.
That, to me, is what makes the arguments against generative AI art so frustrating. If AI art can’t be copyrighted, as many claim, then what rights are being taken from actual artists? There’s nothing to recover, because by that definition AI art has no intrinsic value. It’s all doublethink gobbledegook.
Anything that a human can imagine will eventually be made or built or invented, and sometimes by multiple people at the same time. I believe that AI art tools on this scale were inevitable. It’s how we use them and what we do next that matter.
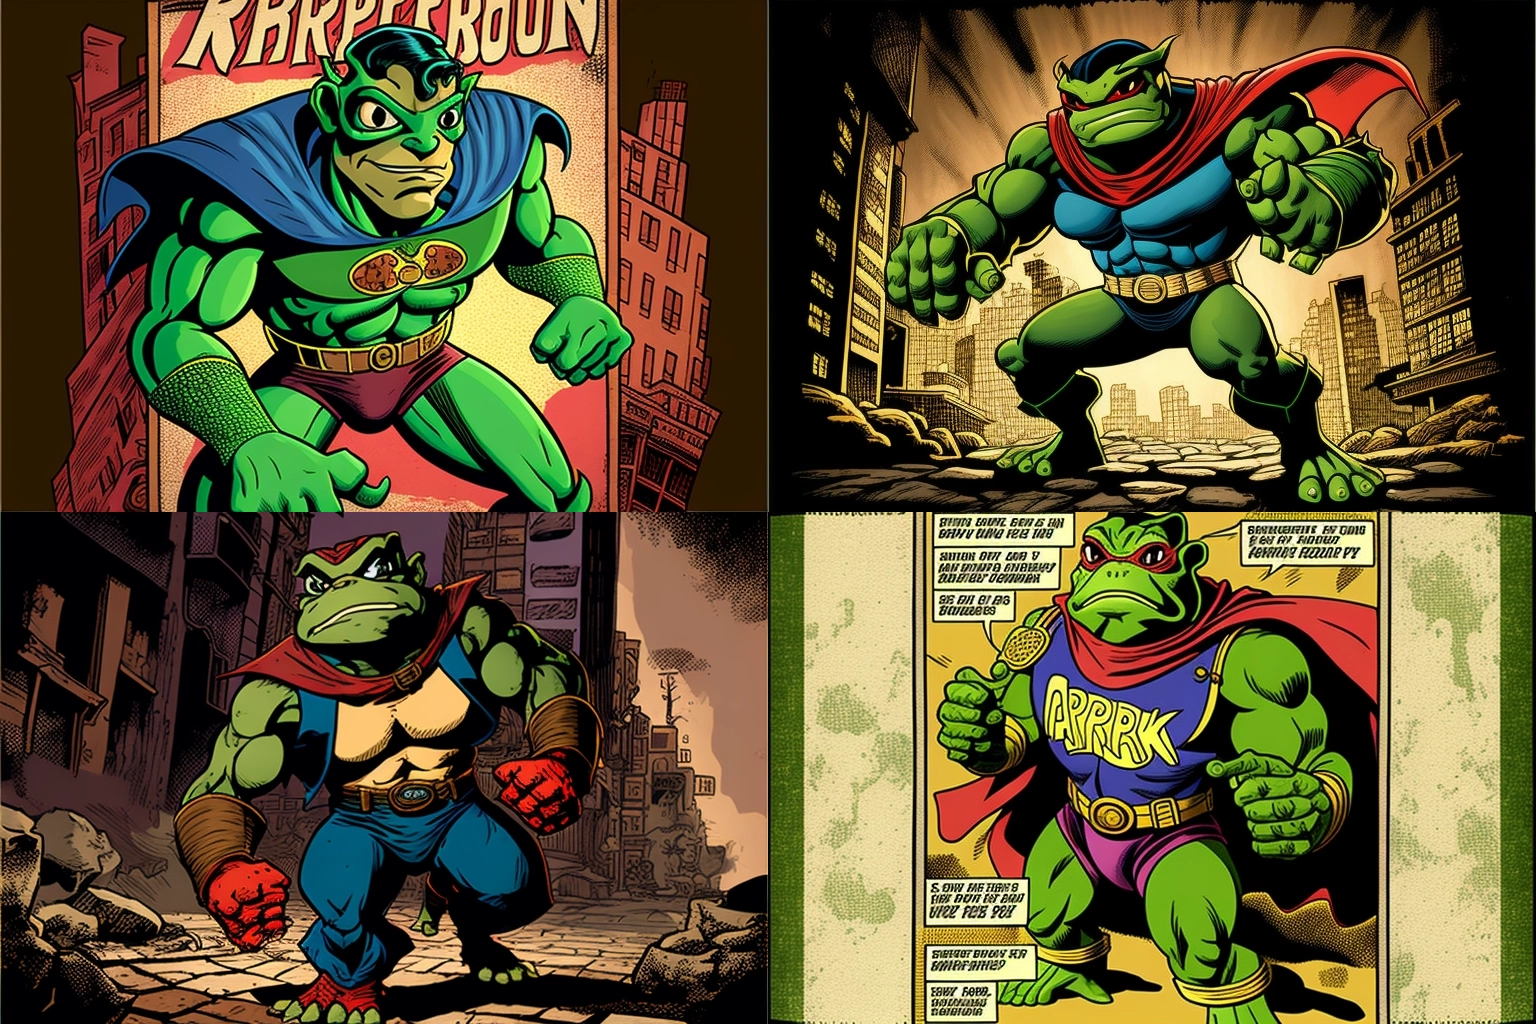
These images, by the way, were all generated, by me, using a Stable Diffusion. I used Google to do image searches for each of them and I can confirm that they are not other people’s images. They’re unique as far as I can tell. If you find any of these images and it’s older than the copy posted here, let me know and I’ll take down my copy and reexamine my life.
They’re meant as computer wallpaper. If you see one you like, click on the image to zoom in, then right-click and “Save As.”
-30-


Recent Comments